
In this episode of our LocalGov Drupal series of tutorials, we are presenting a step-by-step guide on how to get your first LocalGov Drupal website up and running locally, with Lando.
This is the first episode in a series of tutorials:
LocalGov Drupal: A Fast-Growing Community
LocalGov Drupal i.e. the publishing platform created by Councils, for Councils, has gained an increasingly large network of supporters. It's responsible for more than 40 secure, accessible and fast-loading Council websites and ORION WEB is a proud supplier for the platform. You can read more about the benefits of the platform on our LocalGov Drupal informational page.
In this post, we are presenting you with a step-by-step guide on setting up your first LocalGov Drupal website locally.
Requirements
LocalGov Drupal (LGD) is built on Drupal and, naturally, the same requirements apply. You can read more on Drupal 10 technical requirements including PHP, Web Server and Database information in our Drupal 10 Upgrade Detailed Guide.
You'll also need the following installed:
- Composer
- Docker Desktop
- Lando
Read on, for detailed instructions on how to install these tools.
1. Composer Dependency Manager

Quick Installation: Follow the detailed instructions on the official Composer documentation page.
(Read on for more information on Composer, otherwise go straight to the next step, Docker Desktop.)
To install an LGD distribution locally, you'll need to have Composer installed on your local machine. Drupal's Core, its modules and themes as well as contributed modules and themes, are all "packaged" and Composer manages these dependencies in a very structured and organised manner. To put a Drupal website together, all assets have to be sourced from a dedicated URL and compiled to create a fully functional build. Composer, Drupal's dependency manager of choice, does exactly that but it has to be present on your laptop.
There are two ways to install Composer, locally and globally. The latter is usually preferred as, with a single executable installed once, it allows Composer to manage the dependencies of multiple projects present on your machine.
2. Docker Desktop

Quick Installation: To simply install Docker Desktop, follow the steps outlined on the official documentation page: https://docs.docker.com/desktop/install/mac-install/#system-requirements.
(Read on for more information on Docker Desktop, otherwise go straight to the next step, Lando.)
Docker Desktop is a one-click-install application for your Mac, Linux, or Windows environment that lets you to build, share, and run containerized applications and microservices.
It provides a straightforward GUI (Graphical User Interface) that lets you manage your containers, applications, and images directly from your machine. You can use Docker Desktop either on its own or as a complementary tool to the CLI.
Docker Desktop reduces the time spent on complex setups so you can focus on writing code. It takes care of port mappings, file system concerns, and other default settings, and is regularly updated with bug fixes and security updates.
3. Lando

Quick Installation: To simply install Lando, follow the steps outlined on the official page here: https://docs.lando.dev/getting-started/installation.html.
(Read on for more information on Lando, otherwise, go straight to the next step.)
Lando is a free, Open Source, cross-platform, local development environment and DevOps tool built on Docker container technology. Designed to work with most major languages, frameworks and services, Lando provides an easy way for developers of all skill levels to specify simple or complex requirements for their projects, and then quickly get to work on them.
Lando basically allows you to mimic a Cloud-hosting environment locally - it's like having a server on your laptop. On a high level, your lando configuration should contain ALL the things you need to run, develop and test your project.
Local Installation
Now that we have all the required dependencies in place, we can create our first LocalGov Drupal project locally.
Open your Terminal / Command Prompt and switch to an appropriate directory (for example, on Mac OS X, the ~/Sites folder is commonly preferred):
cd ~/SitesWe are going to use the LGD project template publically available on GitHub, https://github.com/localgovdrupal/localgov_project:
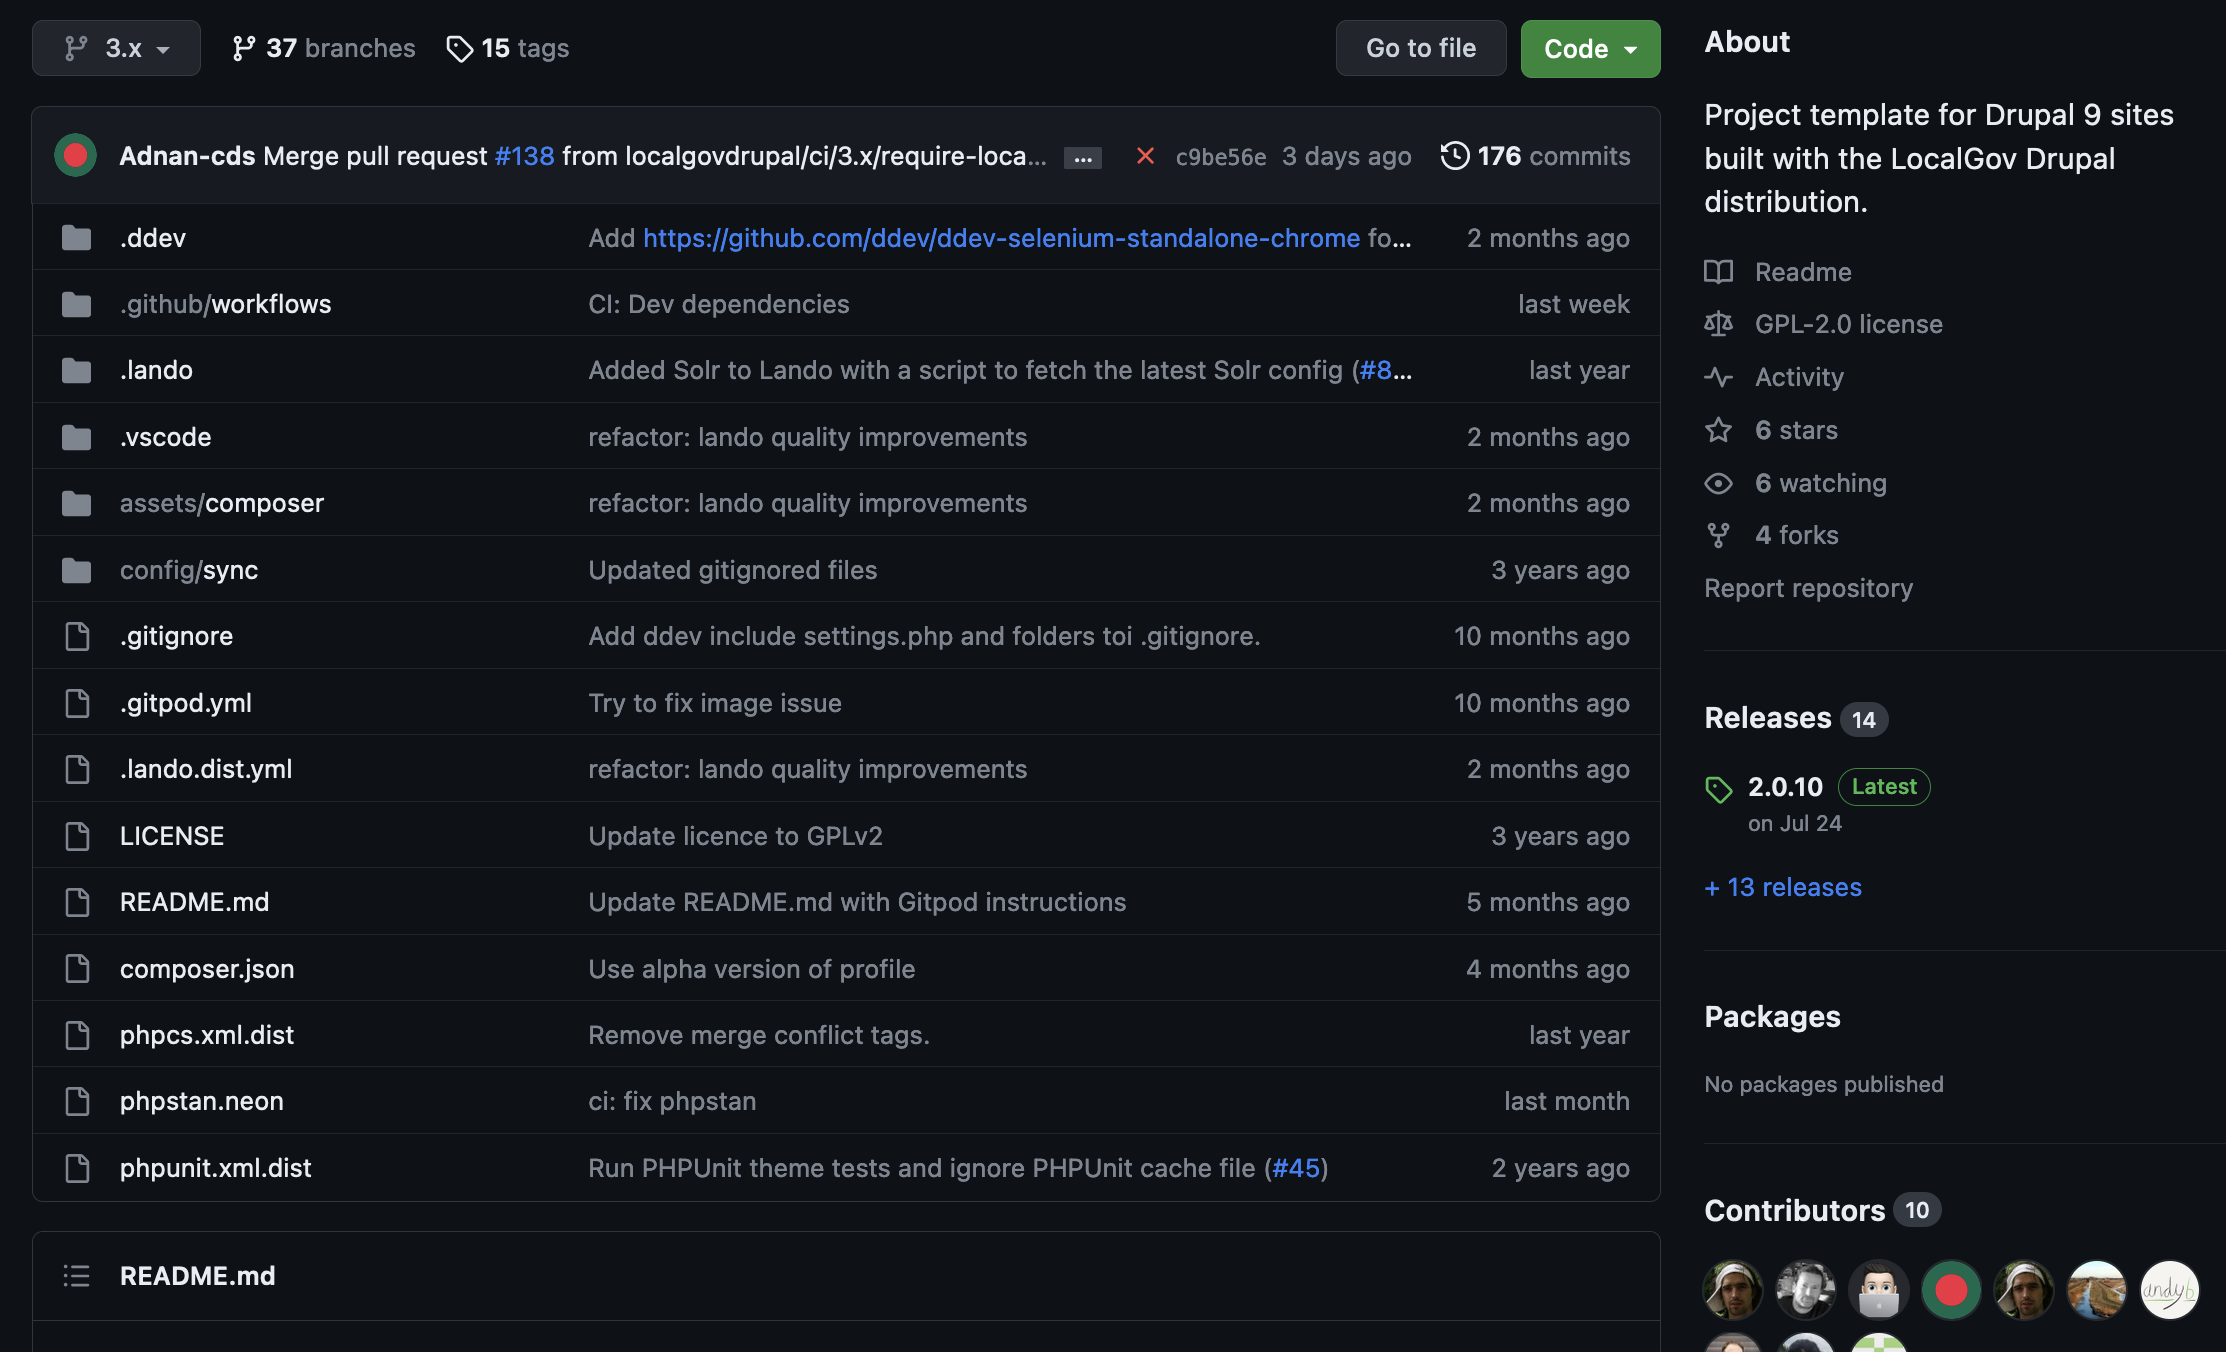
To build the LGD project locally, we need to run the following Composer command and bring all the required packages together in a new LGD_DEMO directory (feel free to change the project name to anything else you might prefer):
composer create-project localgovdrupal/localgov-project LGD_DEMO --no-install The Terminal output of this command will look something like the following:

Switch to the LGD_DEMO directory by running:
cd LGD_DEMOThen, fire up Lando:
lando startThe Terminal output of this command will look something like the following:
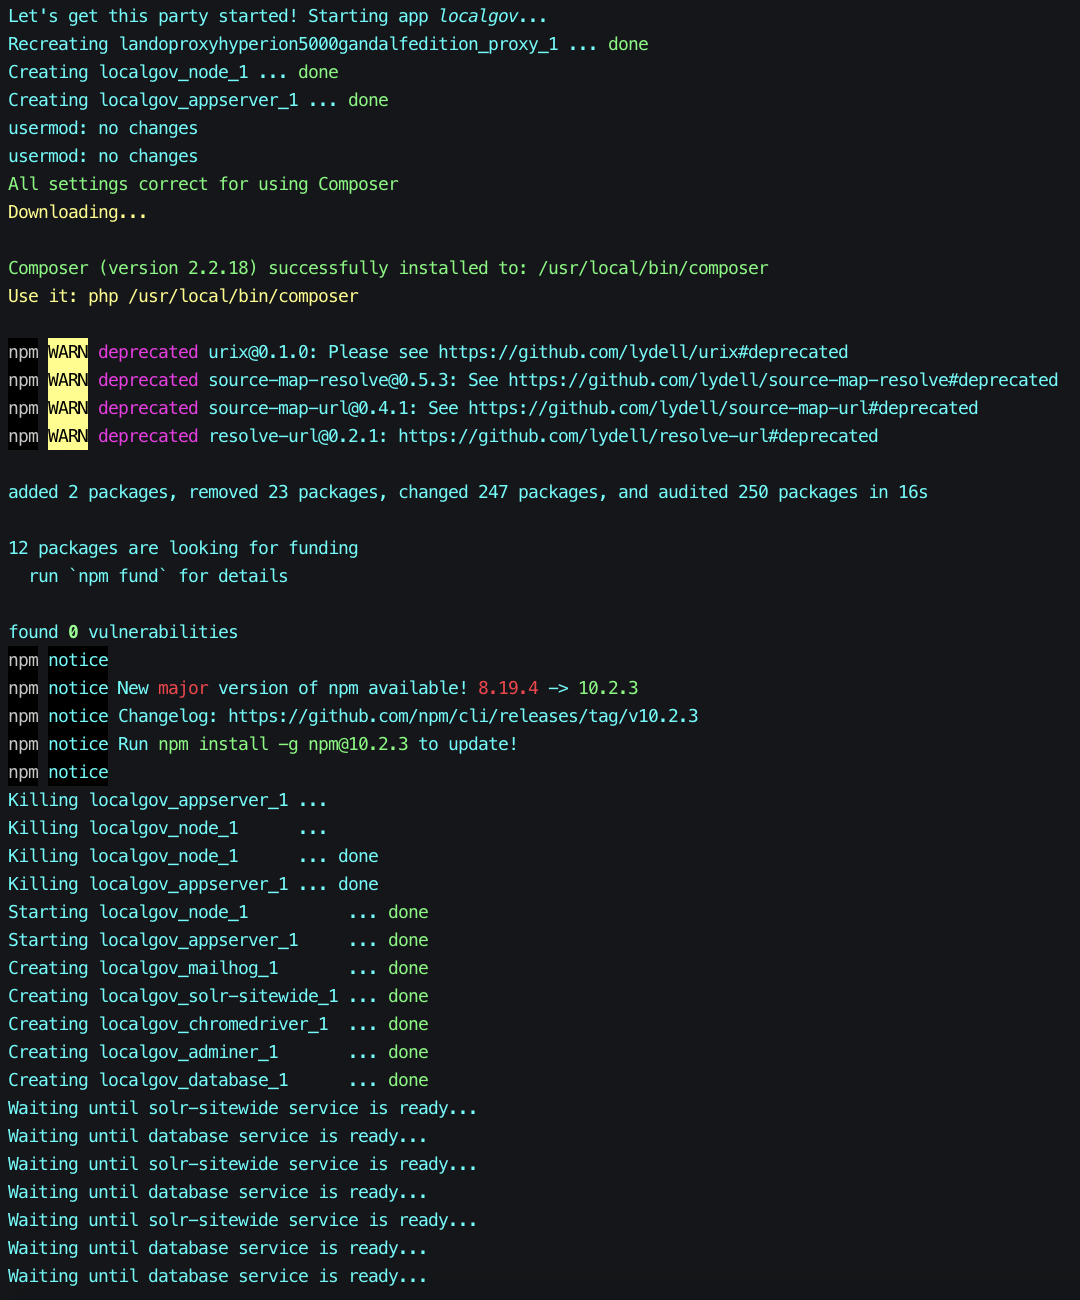
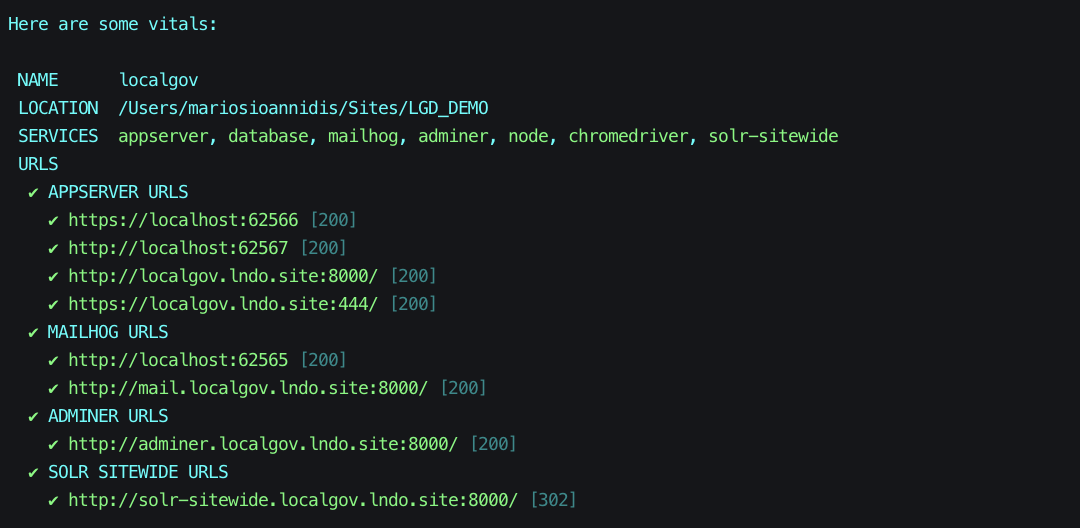
When the process of building Lando is complete, a list of useful details is presented, including the services installed in the corresponding Docker containers as well as their corresponding URLs:
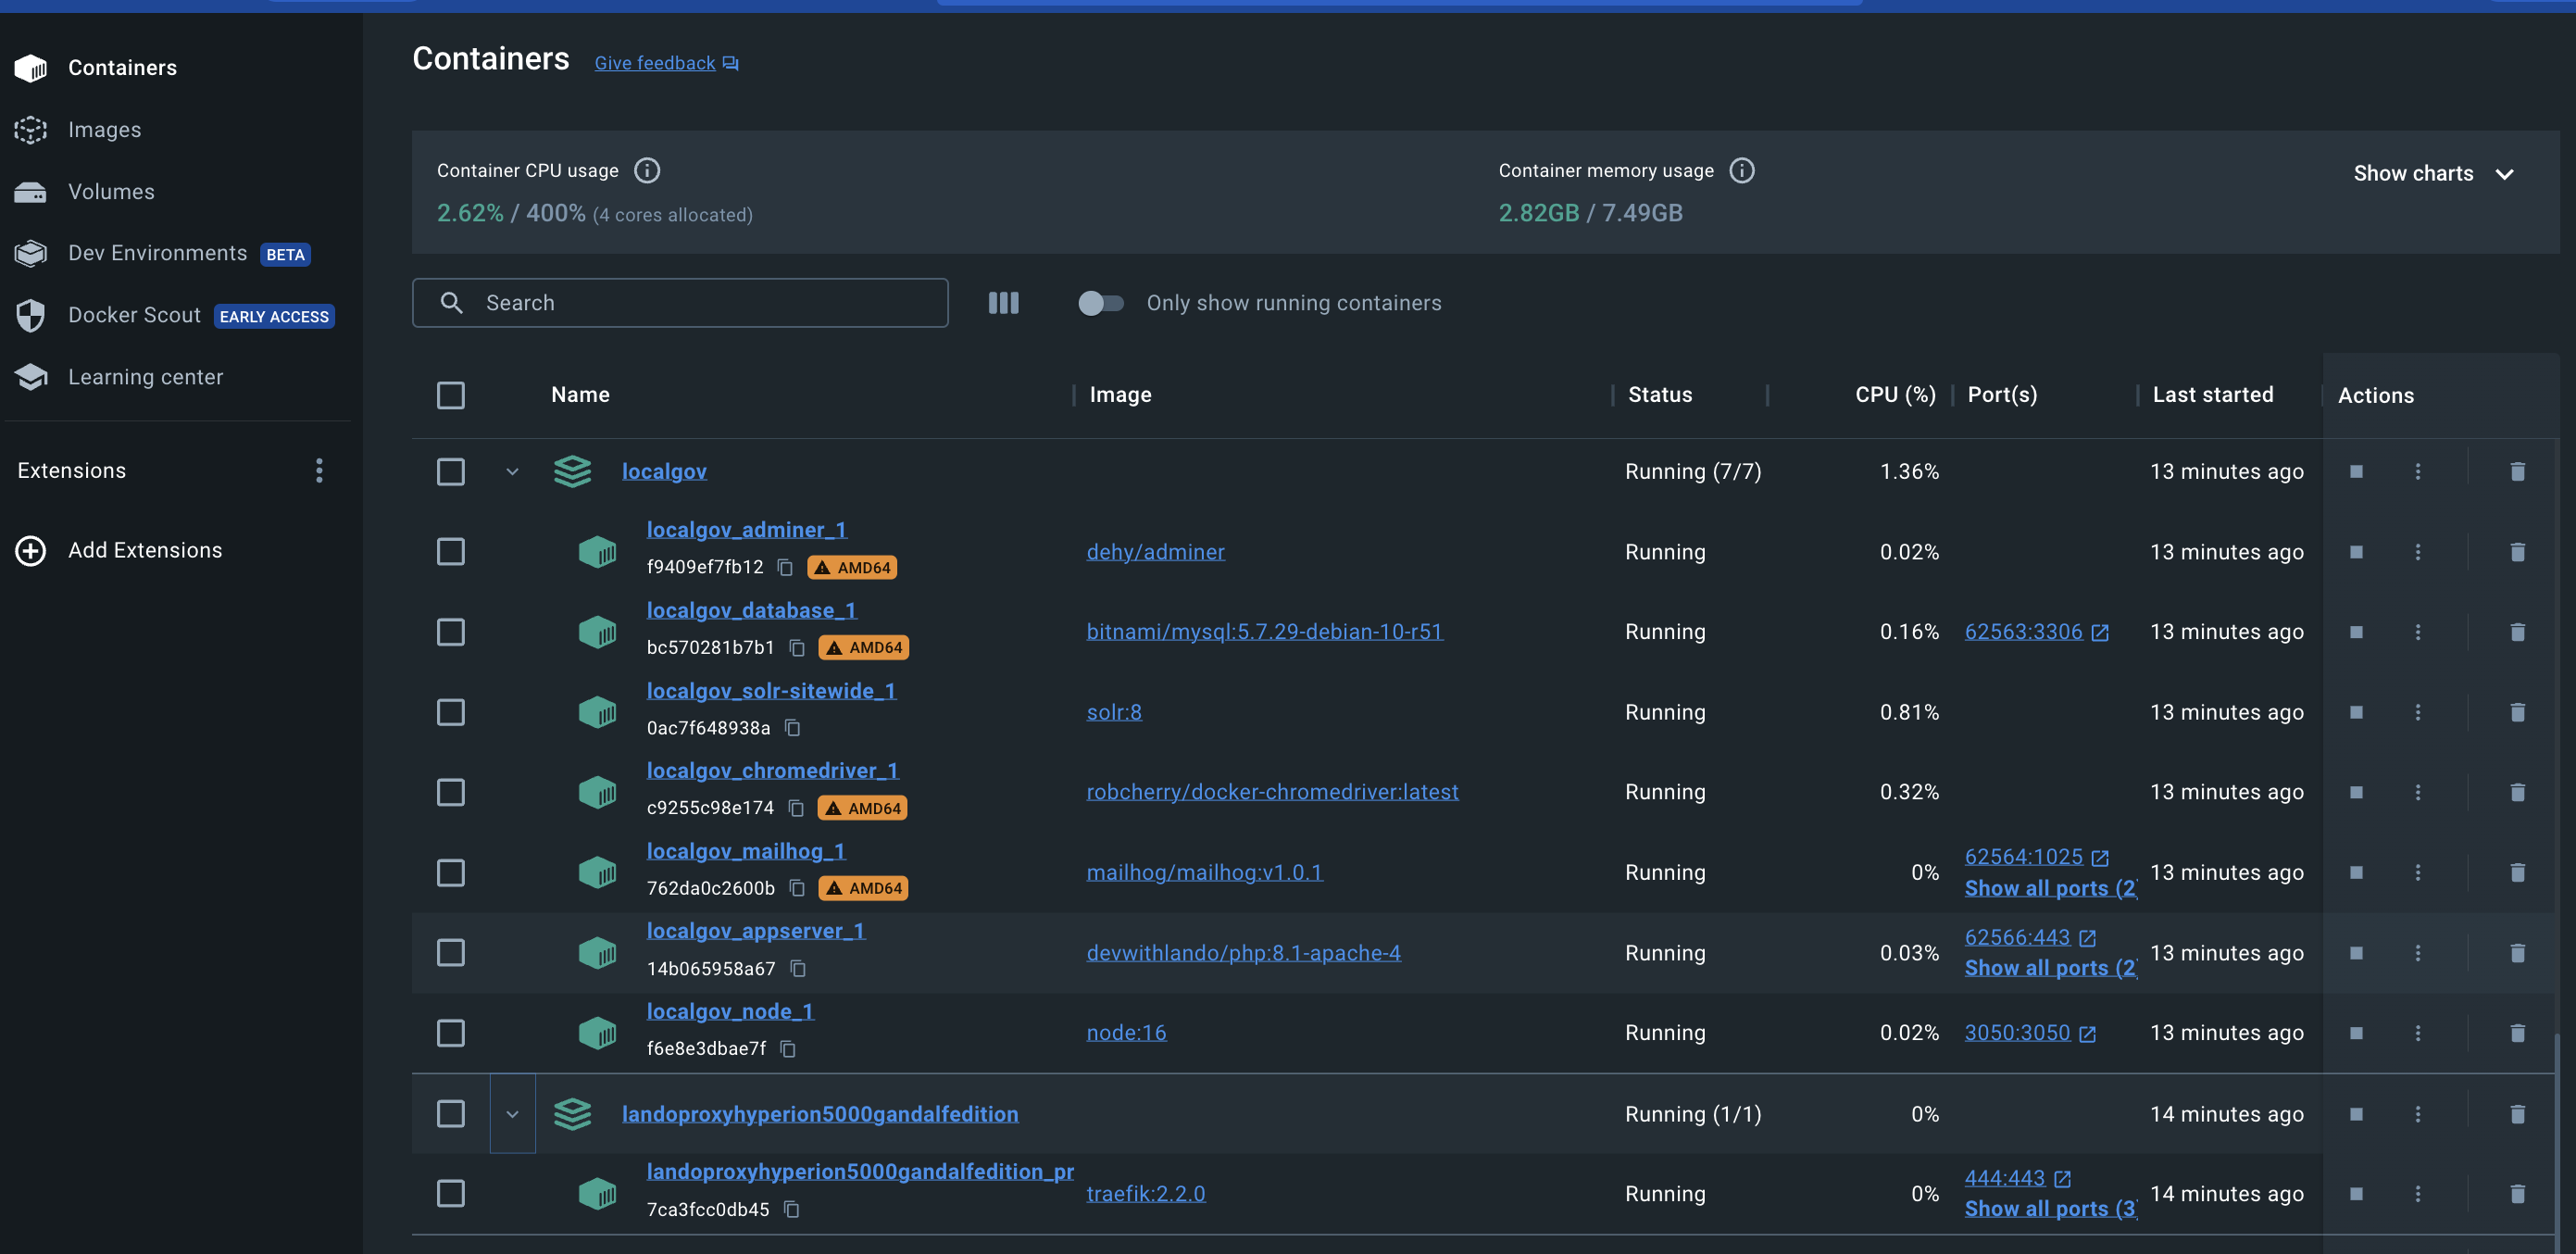
The Docker dashboard, with all our LGD demo project's containers up and running, should look something like the following - keep in mind that some variations are possible due to Operating System differences or even Mac chip variants (Intel / Silicon):
Now it's time to bring in all the Composer packages for this project (this can take a while as the command downloads all the necessary packages from their corresponding repositories):
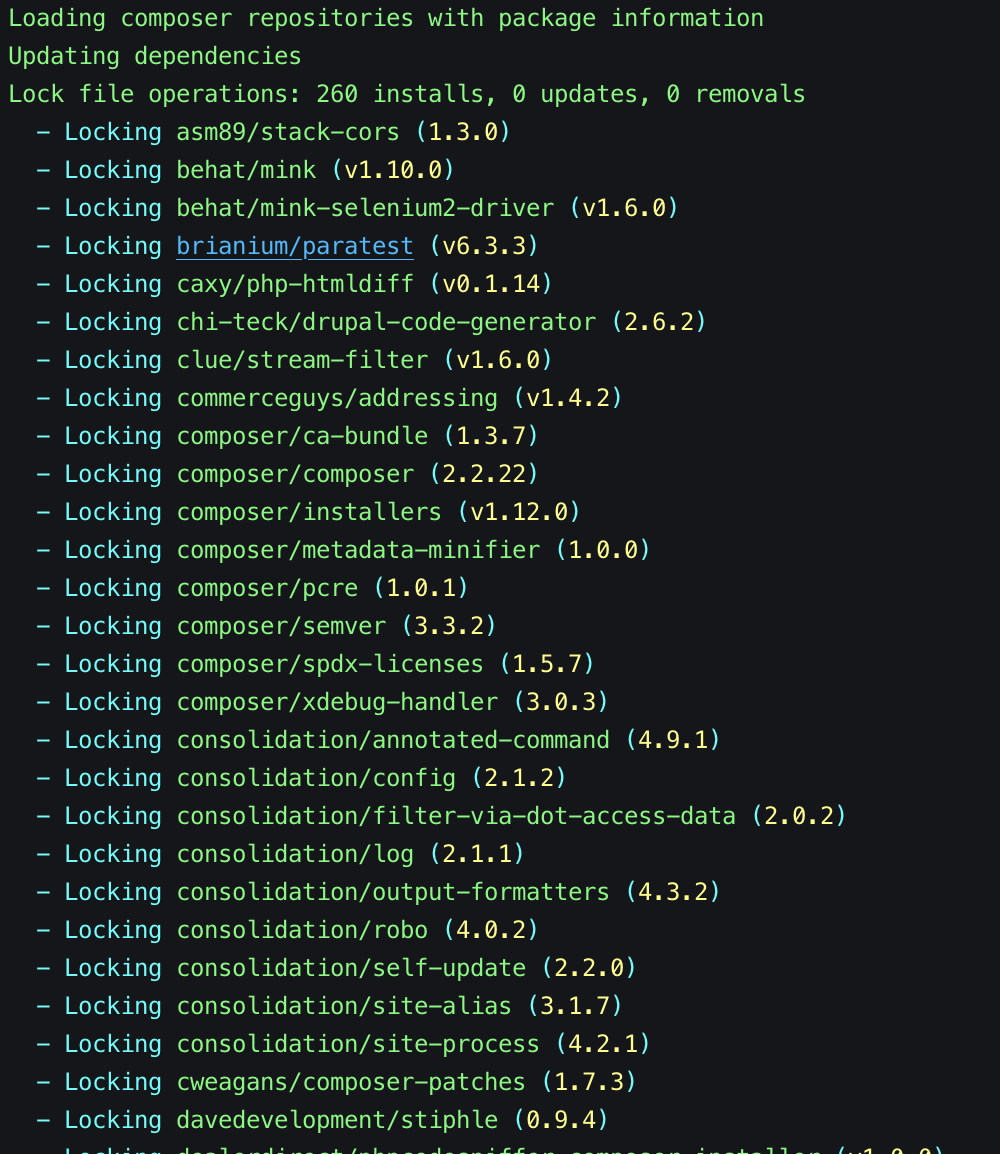
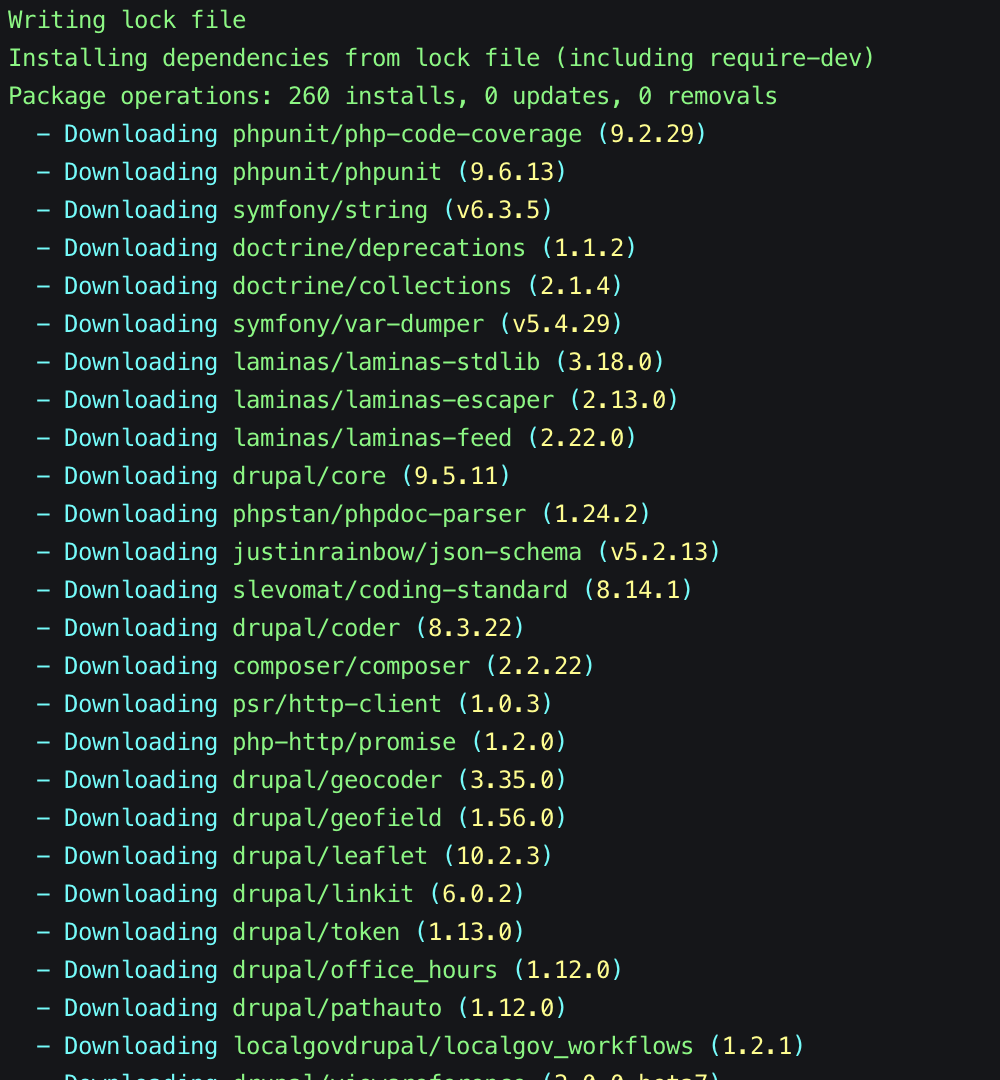
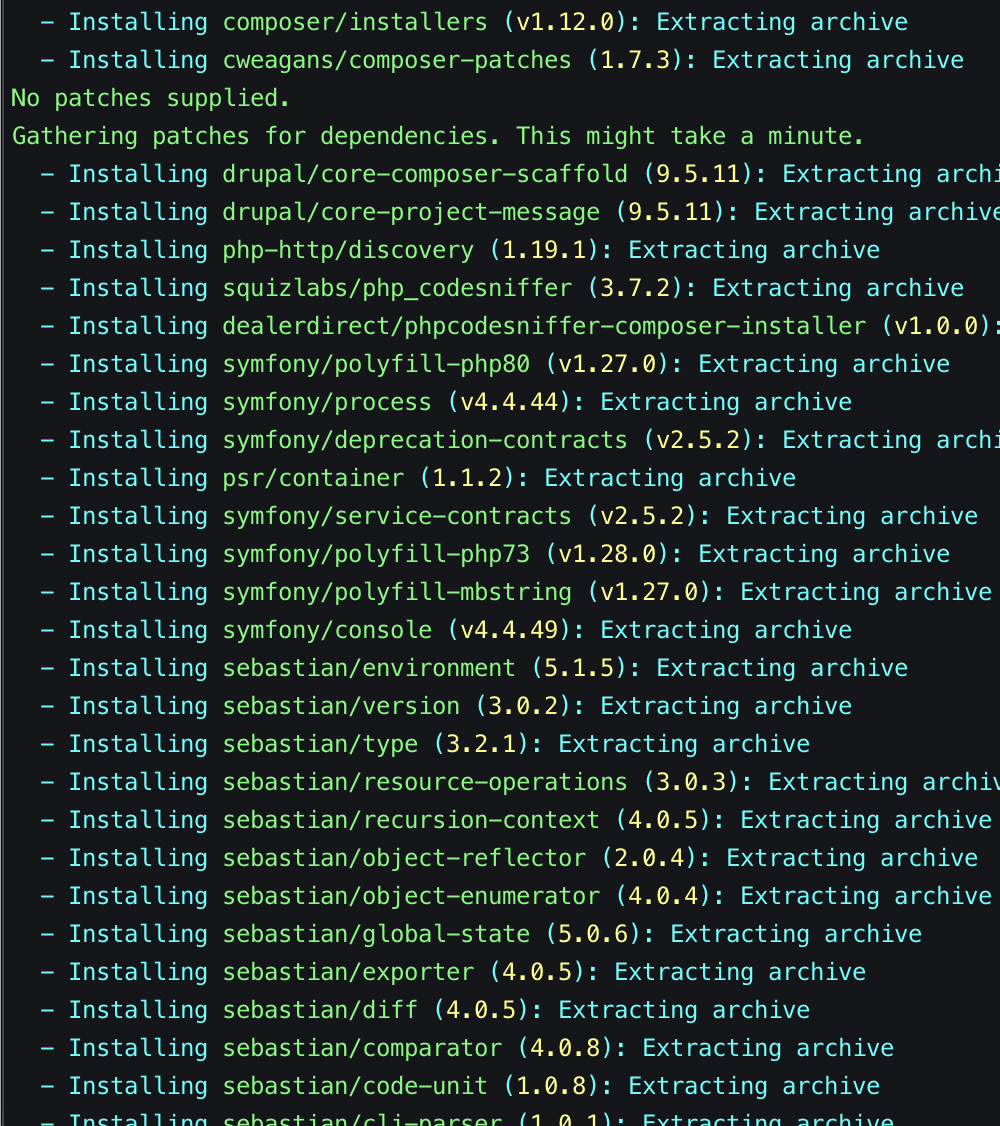
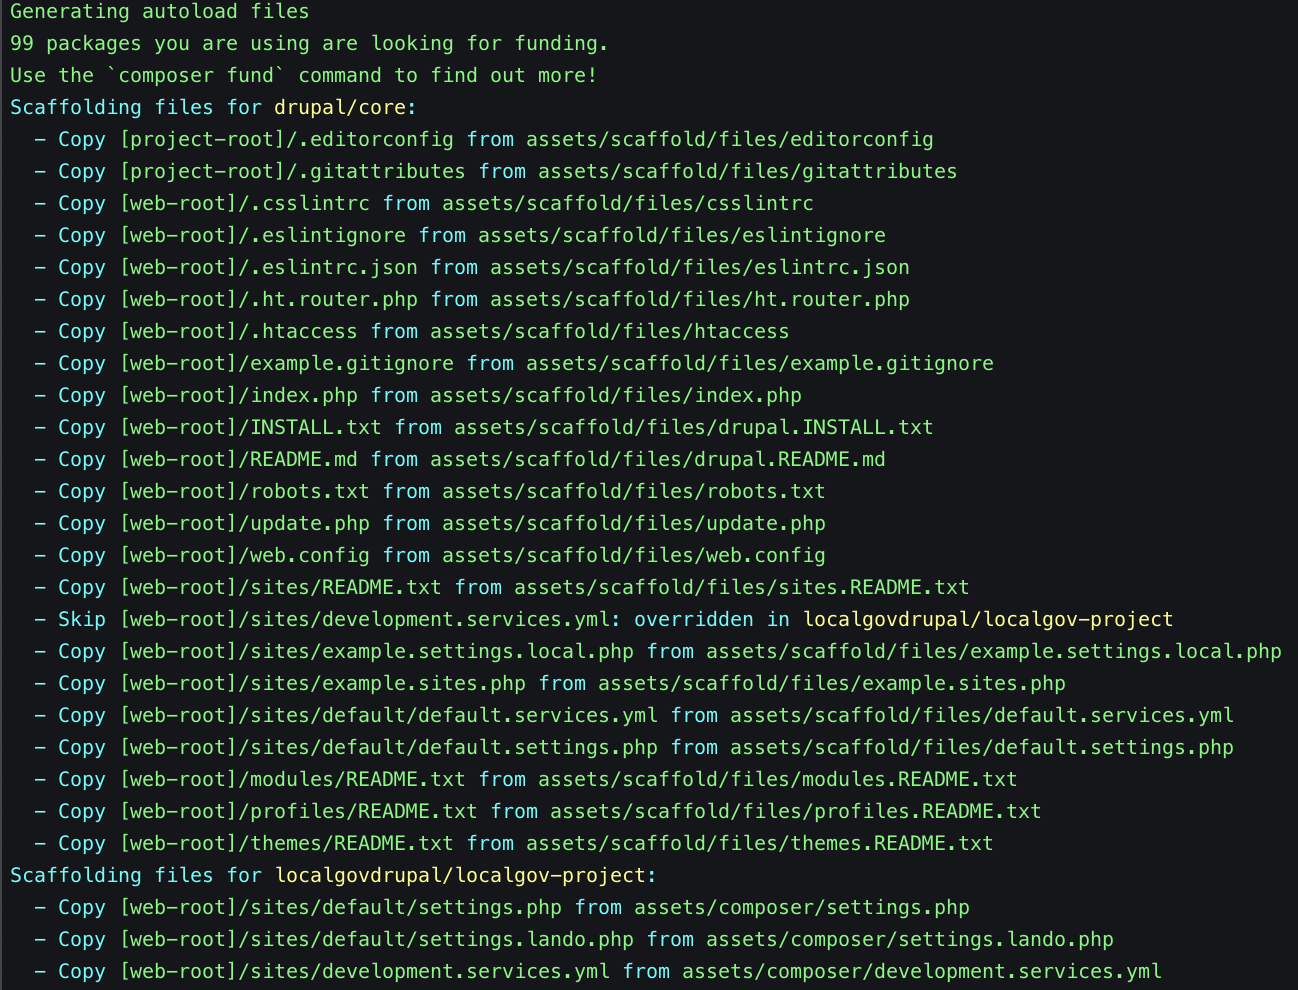
lando composer installBelow, we are presenting the main phases of the composer install process (we're only showing part of the output). You can read more about how Composer actually manages and installs dependencies on the Composer documentation page: https://getcomposer.org/doc/01-basic-usage.md#installing-dependencies.
1. Locking dependencies to their defined versions:
2. Downloading the locked dependencies:
3. Installing the downloaded dependencies:
4. Applying patches (these have also been pre-defined in the LGD Composer template):

5. Scafoolding files (which is a fancy name for putting certain key Drupal files and their content in place):
After the composer install process has been completed, we can finally install our LGD site locally using the site install drush command (for more on drush, Drupal's magic scripting tool, see https://www.drush.org):
lando drush si localgov -yThe output of the command will look something like the following:
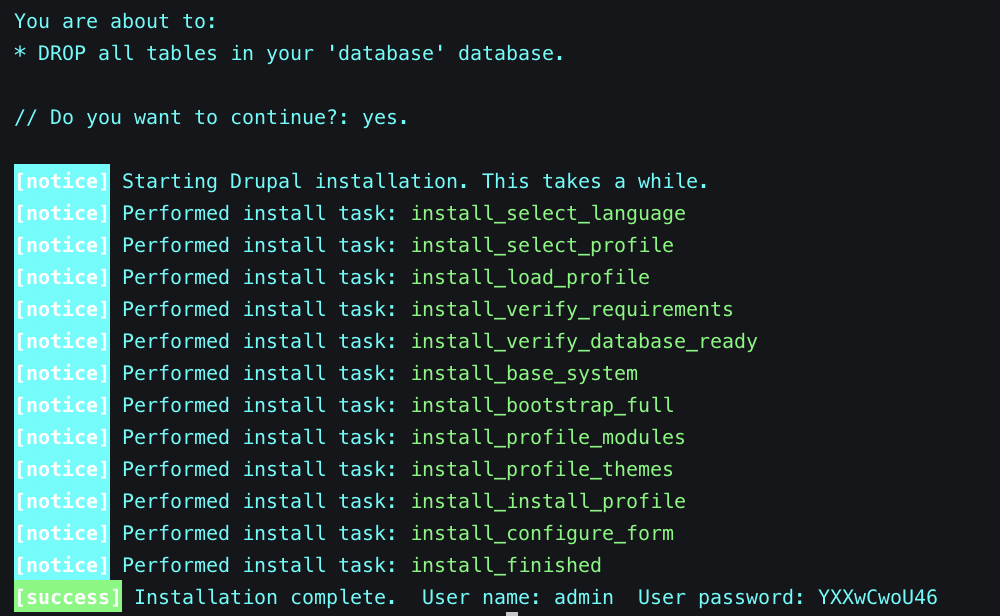
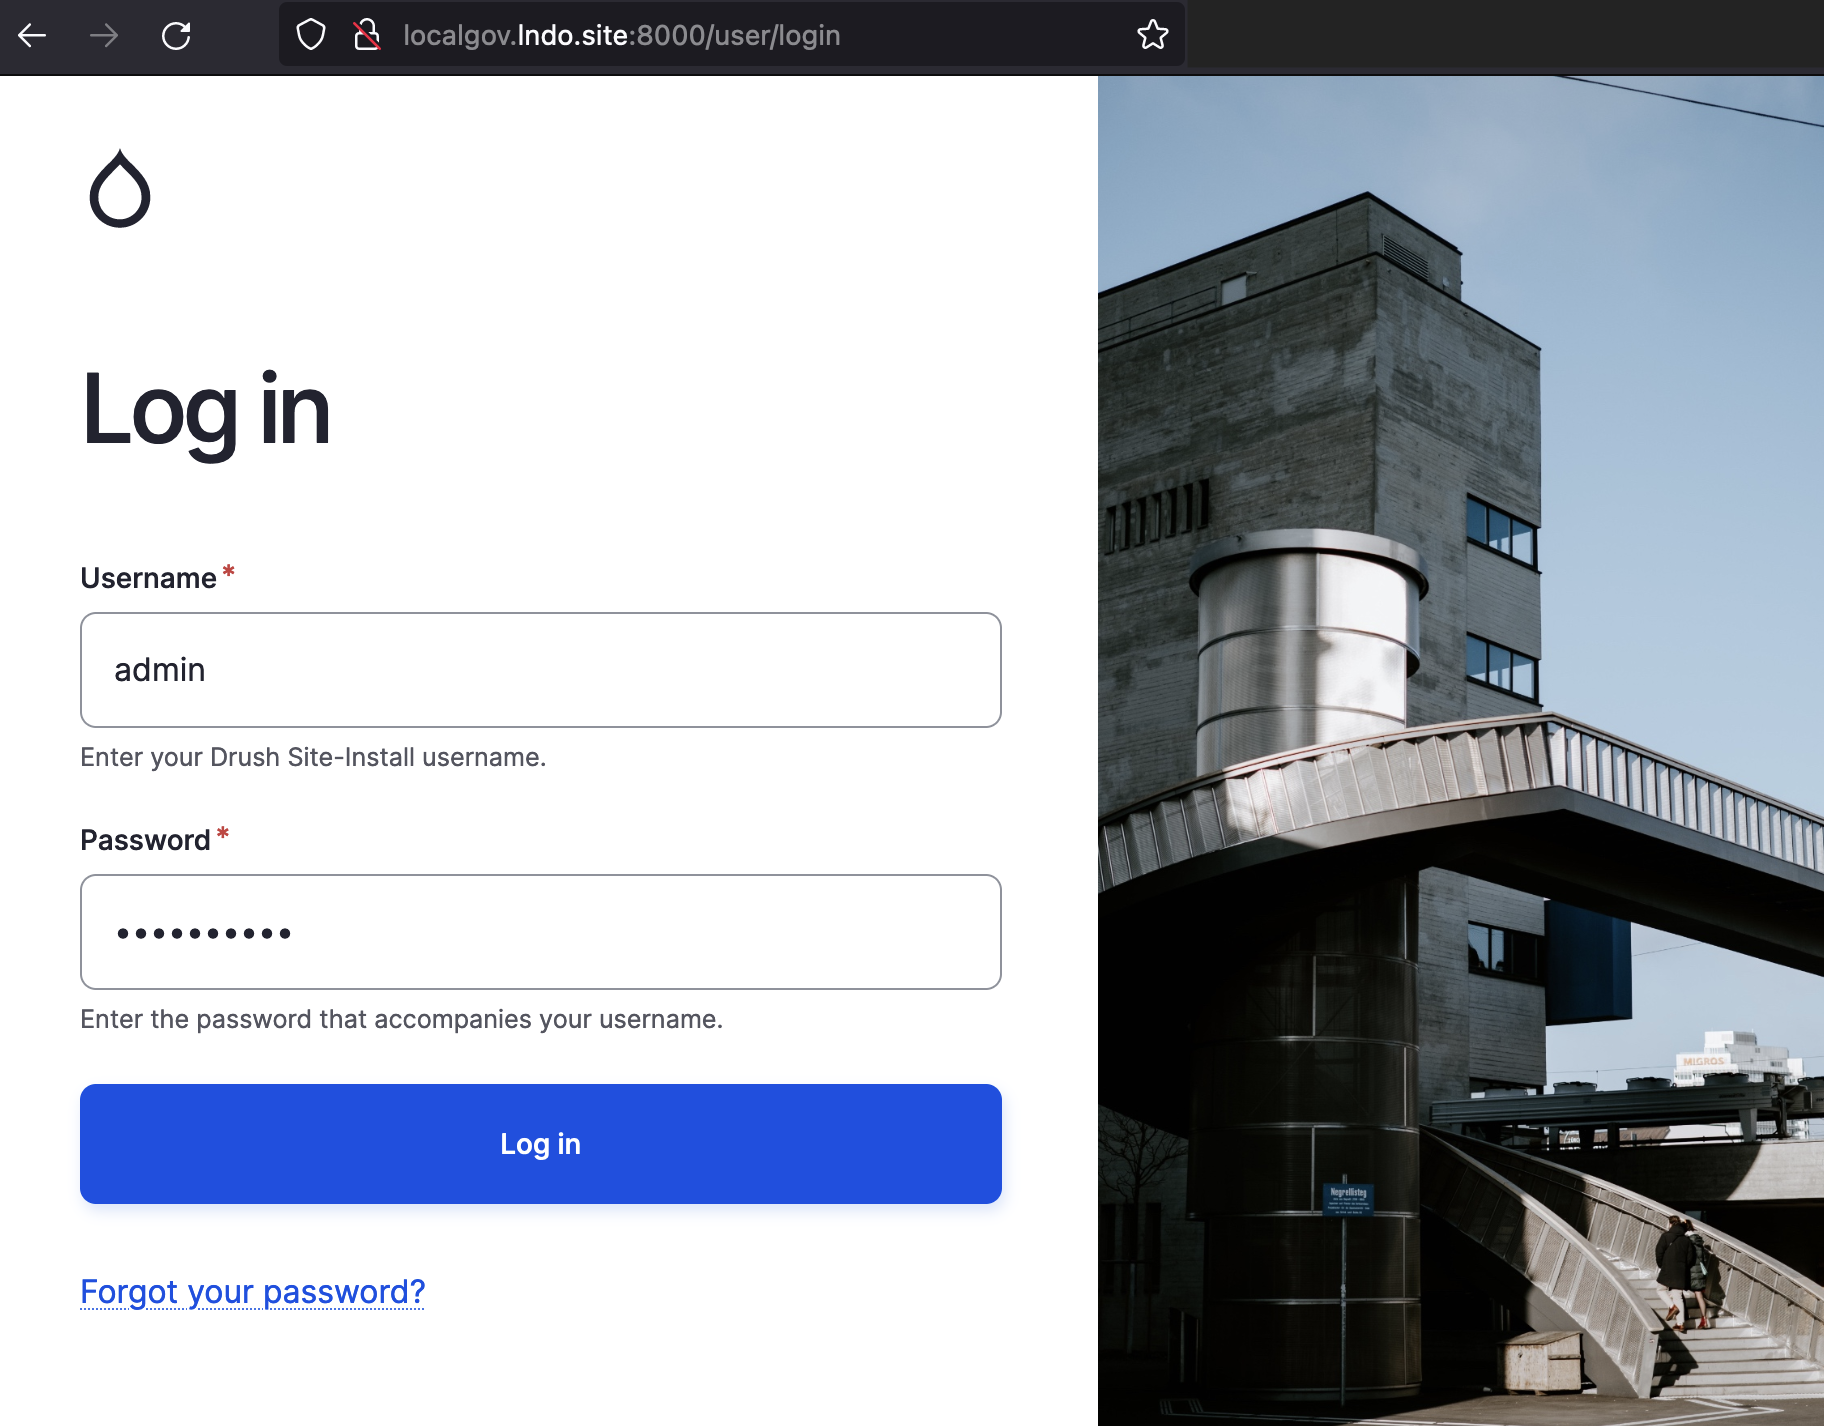
Believe it or not, our new LocalGov Drupal site is ready! Remember those APPSERVER URLS returned by lando start above? You can use any of them, and the returned credentials from the last command, to access your Drupal administrator account on your brand new LGD site on your favourite browser:
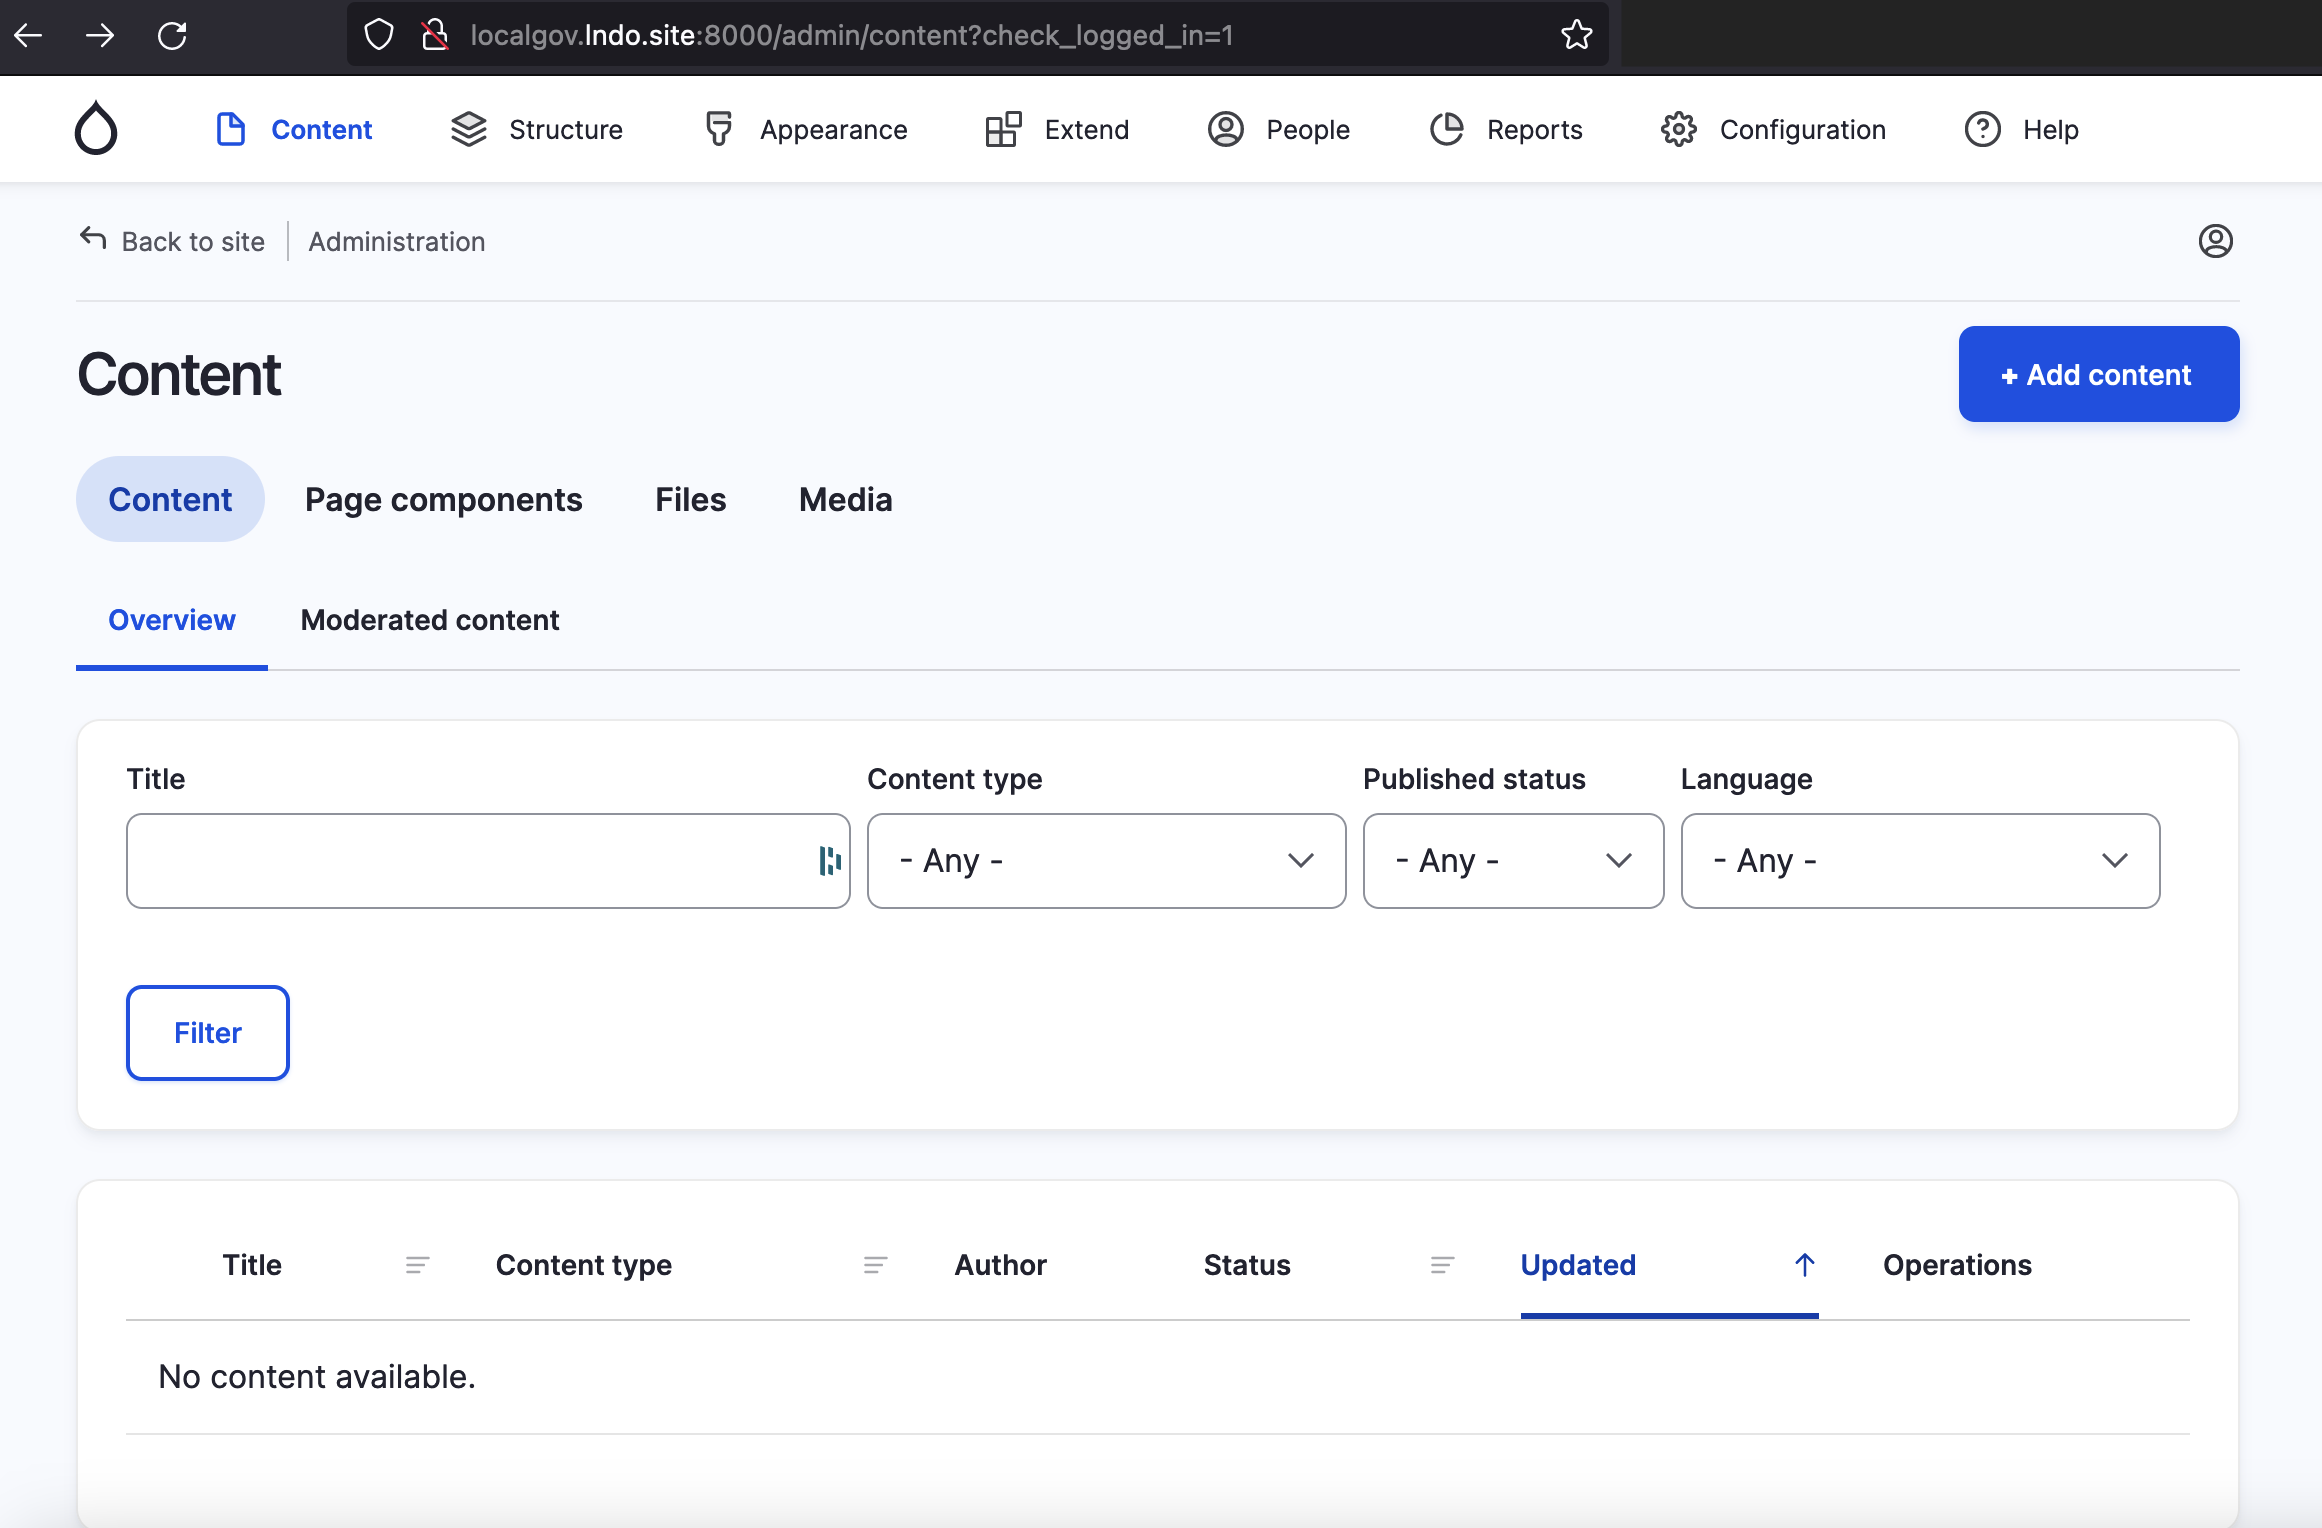
Logging into your admin account lands you on the Drupal content page:
Conclusion
Your new LocalGov Drupal site is now up and running locally. From here, you can explore all the beautiful features LGD offers such as content types, components and many more!
Let us know what you think of our LocalGov Drupal tutorial, we greatly appreciate any feedback.
ORION WEB can help your Council design and build its brand-new Local Government website/microsite as well as migrate your legacy site to the LGD platform. Contact us for a free demo of LGD's features - we'd love to discuss your Council's digital strategy!
